During my childhood in the 70s, sprouts were a symbol of hippie health food, but today we all understand they are very nutritious and you can find them in most grocery stores. And they taste so good!
Here we list 5 reasons why we should all sprout.
1. Fresh and nutritious
Sprouting transforms seeds into superfoods! Sprouts are living food and among the freshest and most nutritious we can eat. Sprouting makes seeds, beans, and lentils more alkaline and increases their nutrient density.
By eating them, we get vitamins, minerals, amino acids, and many enzymes that support digestion. When you make your own sprouts, you guarantee absolute freshness and maximum living energy.
Recently, broccoli sprouts have received a lot of attention due to the plant's high levels of sulforaphane, a powerful phytochemical substance.
2. Easier to digest
Sprouting makes them easier to digest and allows our bodies to access the full nutritional profile.
A major benefit of sprouting is that it releases beneficial enzymes. These enzymes make all types of grains, seeds, and beans easier for the digestive system.
Soaking "awakens" the dormant seed. It releases and reduces enzyme inhibitors and acids. The seeds become easier to digest and the pH level increases, all to our advantage.
Depending on the seed being sprouted, proteins in the form of amino acids can also become more concentrated and absorbable.
3. Removes antinutrients
One of the biggest benefits is that sprouting helps reduce the presence of antinutrients.
Antinutrients are naturally occurring compounds found in plant seeds that interfere with our ability to digest the vitamins and minerals in the plants.
Why do natural antinutrients exist in plant seeds? Antinutrients have a protective function in plants. They help plants survive by deterring pests and insects.
Antinutrients also serve to prevent a seed from sprouting until it is mature enough and ready to grow. One of the best-known antinutrients found in grains, beans, nuts, and seeds is called phytic acid.
4. Affordable
You get a lot of sprouts for your money.
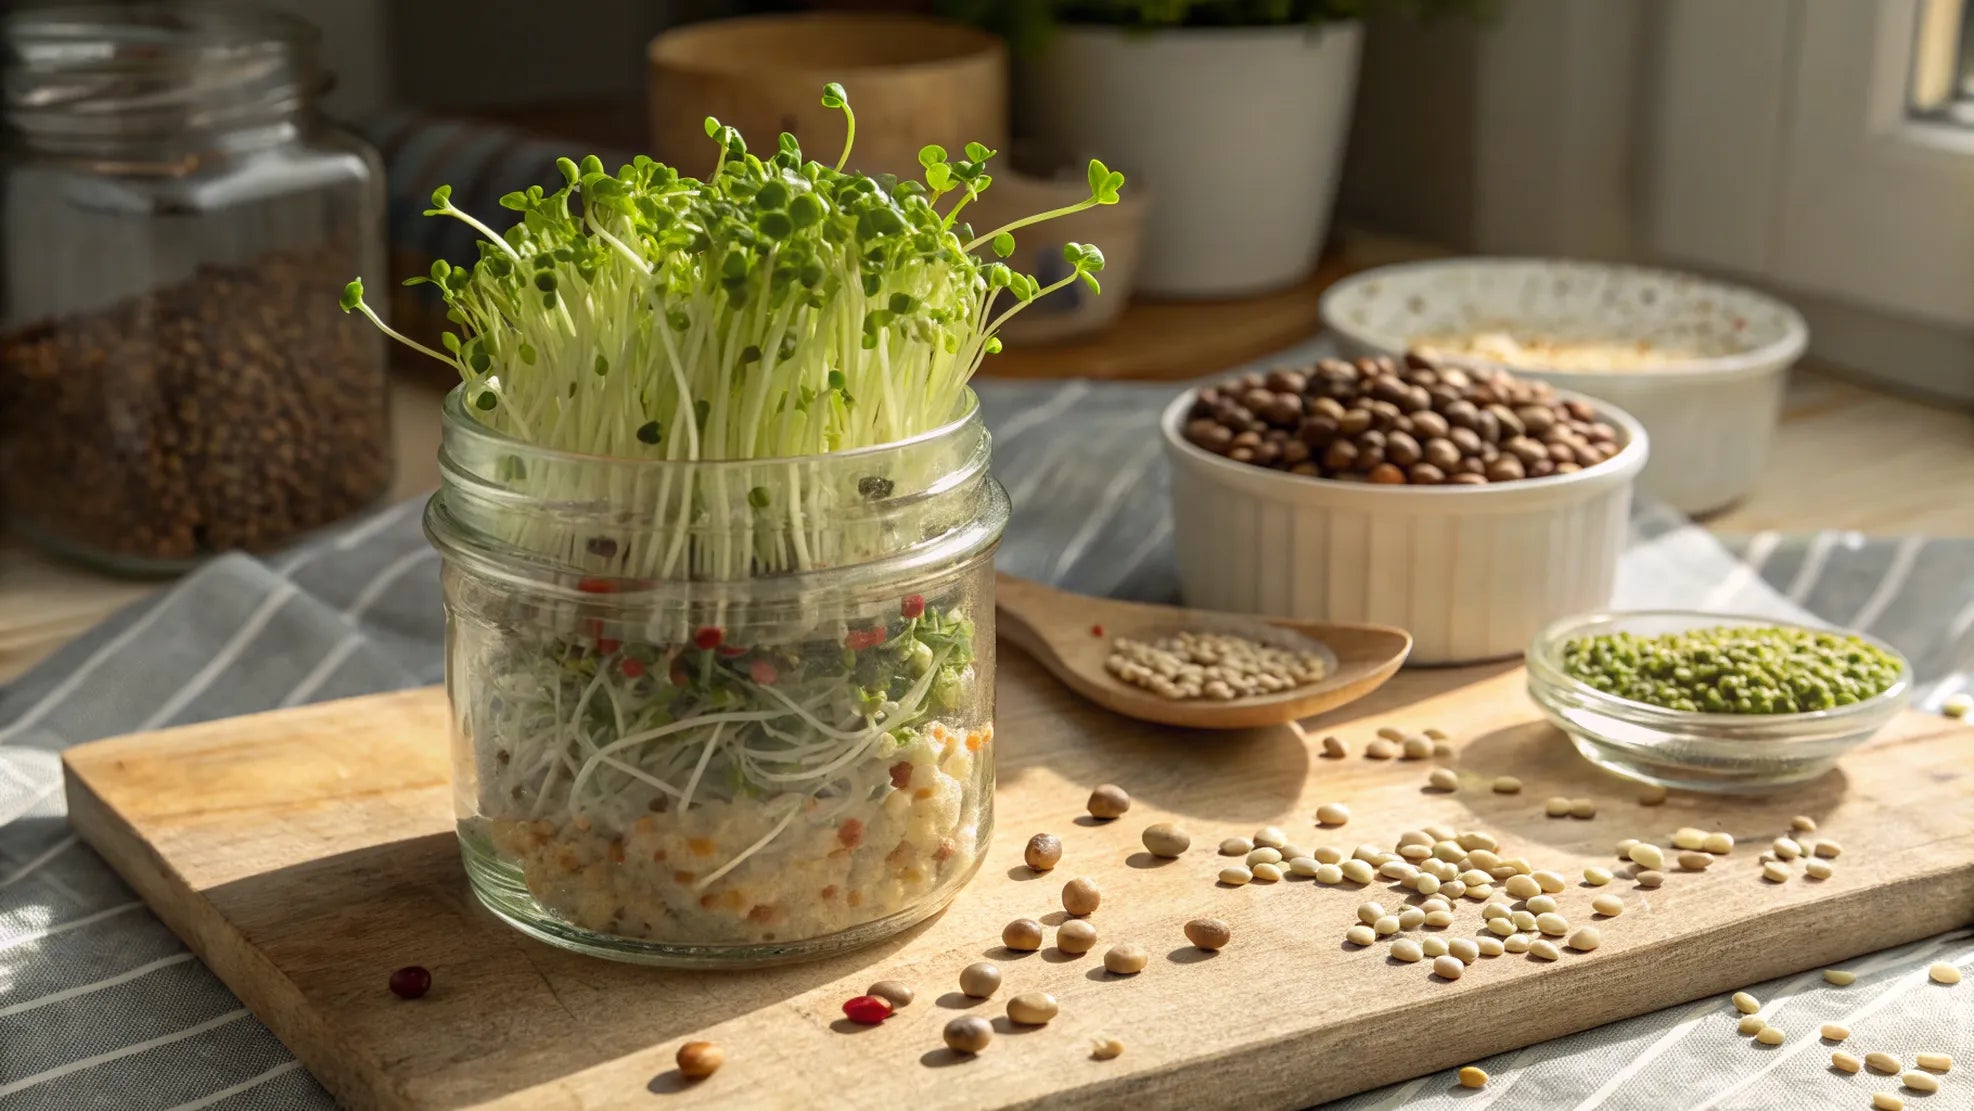
5. Fun
It's very fun to sprout in your own kitchen, all year round. It's fascinating to watch how a small amount of seeds turns into a whole jar of fresh sprouts we can enjoy.
There are many types of sprouting seeds to choose from, such as alfalfa, radish, mung beans, green lentils, black lentils, fenugreek, clover, red cabbage, beetroot, broccoli, quinoa, sunflower shoots, chickpeas, buckwheat, and more, so there's no risk of getting tired of the taste.
It’s always good to alternate between different types of sprouts.
Sprouting guide
How to sprout at home
- Always clean the seeds before sprouting using a sieve. The better you clean, the nicer the final sprouts.
- Then soak the seeds. The soaking time varies from seed to seed. It’s usually stated on the back of the package. Most often soaking is 12 hours.
- After soaking, pour off the water. Repeat rinsing 1-2 times.
- Now place the seeds in a sprouting jar, sprouting tower, or sprouting bag.
- Place the sprouting container in a warm (18-22 degrees Celsius), bright spot but not in direct sunlight. Shake the shoots regularly to separate them. Prevent too much water and moisture buildup.
- Rinse the sprouts twice a day. Gently swirl the jar or stir the sprouts daily.
- When they’re ready, you’ll see a little tail on the sprout. Voila, life is sprouting! Place them in a bright window for a day and they’ll turn beautifully green.
- Finished sprouts should be stored dry in the fridge and last 2–3 days. You can keep the filled sprouting jar in the fridge.
- Note: some sprouts are covered with fibrils (tiny root hairs) that look like white fuzz; this means they are thriving, not mold. Mold is grayish and smells bad.
How should you eat sprouts?
Sprouts are delicious raw in a salad, in a wrap, chopped over a sandwich, or blended in a smoothie.
Or they can be used in cooking, for example sautéed with vegetables, added to a stew, in veggie patties, in bread, or granola. It all depends on the sprout, flavor, and your eating habits.
What is the difference between soaking and sprouting?
Soaking
The whole seed/food is soaked in liquid for a certain time, often in salted water.
When soaking nuts, it’s often called “activating” the nuts. After that, sprouting allows the soaked food to grow further.
In other words, you must soak something first before you can sprout it.
Sprouting
This is when the whole seed sprouts or germinates.
Sprouting happens after soaking and further improves the food’s digestibility and gives a nicer flavor. After sprouting, it can be dried and ground into powder if desired.
Something to think about
Whether you want to sprout or not, rice, legumes, seeds, nuts, grains, and others like buckwheat and quinoa should always be soaked overnight before drying or cooking.
It makes it easier to digest, removes the phytic acid, and tastes so much better!
Hummus made from soaked chickpeas is a completely different taste experience than from unsoaked chickpeas. Hummus made from soaked, sprouted, and then cooked chickpeas takes it even further! Give it a try!
Soaking and sprouting
Below is an idea of how long different foods can be soaked and whether they can be sprouted.
Sprouting seeds
The package states how long they should be soaked and the approximate sprouting time.
Seeds
- Pumpkin seeds: 8 hours soaking, 1-2 days for sprouting.
- Sesame seeds: 8 hours soaking, 1-2 days for sprouting.
- Sunflower seeds: 8 hours soaking, 2-3 days for sprouting.
Flax, chia, and hemp seeds are harder to sprout. However, you can sprout these small seeds by using a shallow bowl and less water.
These seeds absorb water and develop a gel-like texture during the sprouting process. This is normal and results in sprouts within a few days.
Nuts (Activation)
- Almonds: Need at least 2 to 12 hours soaking. Sprout in about 2-3 days.
- Walnuts: 4 hours soaking, these do not sprout.
- Brazil nuts: 3 hours soaking, these do not sprout.
- Cashews: 2-3 hours soaking, these do not sprout.
- Hazelnuts: 8 hours soaking, these do not sprout.
- Macadamia nuts: 2 hours soaking, these do not sprout.
- Pecans: 6 hours soaking, these do not sprout.
- Pistachios: 8 hours soaking, these do not sprout.
Beans and legumes
- Chickpeas: 8-12 hours soaking, 2-3 days for sprouting.
- Lentils: 8 hours soaking, 2-3 days for sprouting.
- Adzuki beans: 8 hours soaking, 2-3 days for sprouting.
- Black beans: 8-12 hours soaking, 3 days for sprouting.
- White beans: 8 hours soaking, 2-3 days for sprouting.
- Mung beans: 24 hours soaking, 2-5 days for sprouting.
- Kidney beans: 8-12 hours soaking, 5-7 days for sprouting.
- Navy beans: 9-12 hours soaking, 2-3 days for sprouting.
- Peas: 1: 9-12 hours soaking, 2-3 days for sprouting.
Grains
- Buckwheat: 8 hours soaking, 2-3 days for sprouting.
- Amaranth: 8 hours soaking, 1-3 days for sprouting.
- Kamut: 7 hours soaking, 2-3 days for sprouting.
- Millet: 8 hours soaking, 2-3 days for sprouting.
- Oat flakes: 6 hours soaking, 2-3 days for sprouting.
- Quinoa: 4 hours soaking, 1-3 days for sprouting.
- Wheat berries: 7 hours soaking, 3-4 days for sprouting.
- Wild rice: 9 hours soaking, 3-5 days for sprouting.
- Black rice: 9 hours soaking, 3-5 days for sprouting.
Here you will find sprouting equipment and sprouting seeds.
We wish you a thriving day!