Health Blog
Health Blog

Non-toxic homemade slime with natural ingredients
Slime, or goo, is a fun and simple craft that has become a big trend among kids who enjoy experimenting. Many children make their own slime at home, and it’s both easy and fun! However, most recipes contain one or more questionable and unnatural ingredients. How about lens solution, glue, detergent, shampoo, or shaving foam? Glue can contain allergenic preservatives or other substances that are not allowed in toys. Some recipes also include borax or boric acid, which are directly unsuitable for children to come into contact with. Borax can, among other things, affect human fertility. Since playing with slime involves a lot of skin contact for the child, we recommend using a non-toxic slime recipe with completely natural ingredients. That way, you can play around as much as you want without worrying about questionable ingredients, and it’s no problem if the child accidentally gets a bit of slime in their mouth! Here we offer two simple and completely natural DIY slime recipes! 1. Magic Slime Ingredients: 2 dl potato starch 1.5 dl cold water 1-2 tsp Pink Pitaya (we used 2 tsp in the pictures) Instructions: Mix Pink Pitaya and potato starch in a bowl. Stir in the water. It may seem like the mixture is too thick, but knead it with your hands for a while. Add more water if you want a looser mixture or more potato starch if it feels too thick. The slime behaves differently depending on the consistency, so it can be fun to experiment. The slime gets a wonderfully lovely bright pink color and a magical texture! It’s hard when you take a lump in your hand, but when you hold the lump, the slime melts. A cozy and fun experience for both young and old! Tip! Keep in mind that playing with slime can get messy and a bit sticky, so it’s a good idea to have a mat on the table. Also, wear an apron or old clothes and wash your hands thoroughly afterward so all the color from the Pink Pitaya disappears. Pink Pitaya is a brightly colored powder that can stain light textiles. 2. Sticky Slime Ingredients: 3 dl water 1.5 tbsp powdered psyllium husk (there are different types, make sure to use a finely ground one; we used Fiberhusk) 1-2 tsp Pink Pitaya (we used 2 tsp in the pictures) Instructions: Whisk all ingredients together in a pot. Note! To avoid lumps in the slime, gradually whisk the psyllium husk into the water. Place the pot on the stove and simmer the slime over low heat. Remember to stir constantly so it doesn’t burn on the bottom! The slime should simmer for about 5 minutes or until it releases from the edges of the pot. For a more gooey slime, you can use a little less psyllium husk. This recipe produces a slightly thicker slime with a dark pink color! Good luck with your experimenting! Source: kemi.se (questionable ingredients in homemade slime)
Read more
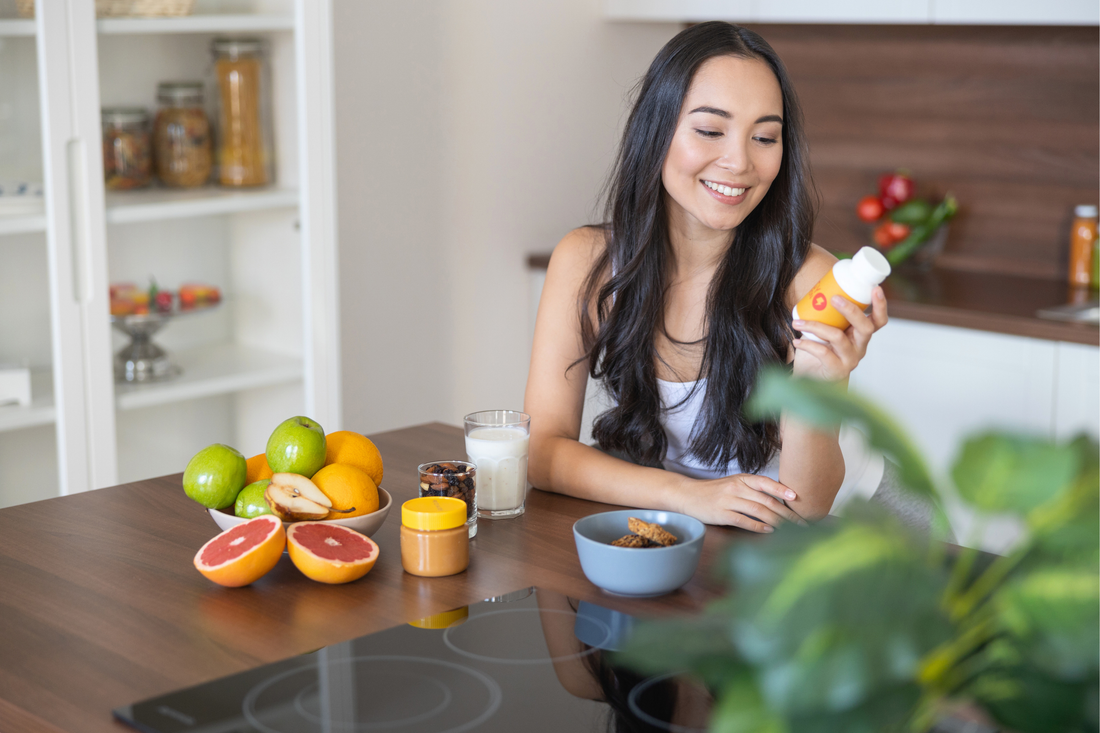
Make your own body butter with shea butter and cocoa butter
Do you love body butter but want to try making it yourself? Here is a wonderful DIY recipe for you! Shea Butter Shea butter is a wonderful body product appreciated by many. It is valued for its moisturizing effect and its "healing" effect on, for example, eczema and other skin problems. Shea butter doesn’t have much scent on its own (some say it smells like latex), so sometimes you might want to add a fragrance to the shea butter to spice it up. We think mixing shea butter and cocoa butter in a body butter is really nice; it creates a creamy result and gives a mild "chocolate" scent. Cocoa Butter Cocoa butter has a high content of fatty acids and deeply moisturizes the skin, making it an excellent complement to shea butter. Many women claim that regular use of cocoa butter reduces stretch marks during and after pregnancy. It’s easy to make your own lovely body butter with shea butter and cocoa butter. The best part is that you know exactly what’s in it, making it a 100% natural body moisturizer, completely free from synthetic and harmful ingredients. Body Butter Recipe 100 ml shea butter 50 ml cocoa butter in chunks 50 ml coconut oil 2 tablespoons almond oil or jojoba oil essential oil (optional) How do you make it? Melt the shea butter, cocoa butter, and coconut oil together in a water bath over low heat, stirring constantly. Of course, you can make smaller or larger amounts at a time, your choice. Remove from heat and add the chosen oil and optionally essential oil. Mix well. Place the melted mixture in the refrigerator and let it cool and solidify for about 3 hours, until it has a soft but firm consistency. Take it out of the fridge and whip it until fluffy using, for example, a hand mixer or whisk. Mix well with a wooden spoon. Pour into a glass jar with a tight lid. Store in a cool, dark place. Tip: You can make chocolate body butter by adding two tablespoons of cocoa powder to this recipe.
Read more
DIY Guide: Easily Sprout at Home for Nutritious Shoots
Have you dared to try sprouting yet? If not, I have good news for you: it is neither difficult nor particularly time-consuming, as some might think. Sprouts are delicate little, nutritious energy bombs made from lentils, legumes, and seeds. You can sprout all year round, and it is both easy and relatively quick. Different seeds need different soaking times and take varying amounts of time to be ready. If you want to check the timing, you can look at the sprouting guide on Morotsliv to get an idea of how long it takes for different sprouts and shoots to be ready. Sprouts and shoots are delicious to add to salads or as a topping on seed crackers. Soaking activates enzymes When you soak, enzymes in the seed are activated, making minerals and proteins easier for the body to absorb compared to cooking or eating them raw. Tip! Soak legumes overnight before cooking. This shortens cooking time and makes them easier to digest. Sprouting increases nutritional value Sprouting increases nutritional value. Carbohydrates are converted into simpler sugars and protein into free amino acids during sprouting. Minerals are also released and become more accessible. B vitamins such as B2 and folate, as well as vitamins C and E, can increase significantly during sprouting. Antioxidants also increase, whose role is to help protect cells from free radicals and prevent fat rancidity. An increased content of phenols affects taste, aroma, and color and serves various protective functions in the plant. Similarly, plant phenols can have protective and health-promoting properties for us humans. Sprouting reduces antinutrients During the sprouting process, substances that cause gas are reduced. One group of these substances is called α-galactosides. Legumes also contain phytic acid (phytate), which binds minerals and makes it difficult for the body to absorb them. The longer a legume is sprouted, the more phytate is broken down. What should you sprout? Peas and beans are easy to sprout. Try azuki beans, mung beans, chickpeas, and soybeans. Peas usually taste good as shoots. Keep in mind that chickpea and soybean sprouts should be blanched before serving. Green and black lentils also produce good sprouts. And don’t miss all kinds of seeds such as alfalfa, amaranth, fenugreek, buckwheat, broccoli, oats, millet, barley, clover, cress, corn, pumpkin, quinoa, rye, brown rice, radish, sesame, sunflower, spelt, and wheat. You can find sprouting seeds here. Hygiene Always clean your seeds before sprouting them. Thorough cleaning will make your sprouts and shoots nicer and give them a longer shelf life. After soaking, it can be good to rinse the seeds with cold water a couple of extra times. Store the sprouts in a glass jar in the refrigerator. They last about 5 days. Grow shoots on paper Shoots are seeds that have sprouted and then grow into small stems with small green, chlorophyll-rich leaves at the top. Unlike sprouting, which only needs water, the seeds must be planted in paper or soil to grow into shoots. Growing on paper on a plate is very simple and also works with a few layers of paper towels if you don’t have growing paper at home. Alfalfa, mustard seeds, amaranth, millet, clover, cress, sesame, and similar seeds are good to grow on paper, while lentils and peas usually do well in soil. Instructions: Place a sheet of growing paper or several layers of paper towels on a plate. Sprinkle a layer of seeds on the paper. Moisten the seeds so everything is damp. Cover with plastic wrap. Moisten at least two to three times a day. After a few days, you can remove the plastic and place the shoots in light so they develop leaves. When the shoots have reached the desired length, you can cut them off and eat. Here you will find growing paper. Sprout in a jar It works perfectly well to sprout in large glass jars. Remove the lid and secure a loose mesh fabric with a rubber band over the opening to keep pests away. Or use ready-made sprouting jars that are easy to clean between uses. Instructions: Rinse 1 dl of beans/lentils/seeds and soak in room temperature water in a glass jar overnight. Pour out the water the next morning and rinse them again. Keep the jar in the dark and preferably upside down so the water can drain properly. Rinse the sprouts 2-3 times a day. After a few days, the sprouts are ready to eat. Tip! Place them in a bright window for a day to make them beautifully green and full of chlorophyll. Here you will find a growing jar. Sprouting in a sprouting jar If you want to grow many different sprouts or a large quantity, sprouting towers are fantastic! They save a lot of space by allowing you to sprout vertically instead. Instructions: Rinse 1 dl of beans/lentils/seeds and soak in room temperature spring water overnight. Pour out the water the next morning and rinse them again. Keep the tower in the dark and rinse the sprouts 2-3 times a day. After a few days, the sprouts are ready. Place them in a bright window to get beautifully green leaves. Here you will find sprouting towers. Grow wheatgrass in a sprouter Freshlife is an automatic sprouter that you fill with water and seeds, plug into the wall, and the watering happens automatically. You need to change the water every day, but otherwise, it takes care of the rest of the work. The sprouts stay moist all the time, and after a week you have organic fresh sprouts and shoots or wheatgrass at home. This machine is perfect for wheatgrass because wheatgrass is very sensitive to drying out or molding. 7 tablespoons of wheat provide a good amount for this machine. If you want to grow wheatgrass, you need wheatgrass pads. Instructions: Clean your wheat seeds thoroughly. Place wheatgrass pads on the growing plates with the smooth side up. Spread a layer of wheat seeds on the wheatgrass pads. Assemble the growing tray with growing plates, tubes, and sprinkler. Assemble the pump and fill the bottom part with water. Place it on the growing tray. Plug it in and check that the sprinkler is spinning. Change the water every day. If the pressure is too low or it spins too fast, adjust the pressure by turning the tube closest to the pump. After 7-9 days, the wheatgrass is ready. Press wheatgrass juice and drink it as a shot with a sweet licorice-like flavor. You can also blend and strain out the fibers if you don’t have a press at home. Here you will find the sprouter from Tribest. Problems? Sometimes the sprouts start to smell and can feel warm. The cause is often that there is too thick a layer of seeds, preventing air circulation. The seeds may also be old and have poor germination. If you forget to rinse your seeds, they can also go bad. Throw away bad sprouts, wash, and start a new sprouting.
Read more